

How to Visualize Original Paintings in Your Home
Aug 24, 2026
Table of Contents
- Why Visualizing Original Paintings Matters Before You Buy
- Step 1: Measure Your Wall Space and Understand Scale
- Step 2: Use Digital Art Visualization Tools to Preview Your Piece
- Step 3: Create Thumbnail Sketches to Test Arrangements
- Step 4: Follow Art Hanging Height Guidelines for Optimal Placement
- Step 5: How to Display Original Landscape Paintings with Lighting in Mind
- Step 6: Leverage Augmented Reality to See Art in Real Time
- Common Mistakes When Visualizing Artwork at Home
Last Updated: August 24, 2026
Why Visualizing Original Paintings Matters Before You Buy
Purchasing original artwork differs fundamentally from buying mass-produced prints. The piece will occupy a specific space, interact with your décor, catch light at particular angles, and anchor your room's mood. Yet most collectors decide based on photos alone, viewing a small screen image and hoping it translates to their walls.
Learning to visualize original paintings before purchase is essential. You need to see how the piece fits your space: its scale relative to your walls, how its colors harmonize with furnishings, whether lighting will showcase or diminish its details. The difference between a painting that transforms a room and one that disappoints often hinges on this single step.
At Cairngorm Artists, we understand this challenge. Our collectors worldwide face the same issue: they love a Highland landscape but can't be certain it will work in their living room until it's hanging. That's why we've compiled this guide to help you visualize original paintings confidently using practical tools and proven techniques.
Step 1: Measure Your Wall Space and Understand Scale
Accurate wall dimensions form the foundation for all visualization work. Without knowing your wall's actual width, height, and available space, every other step becomes unreliable.
Measure the wall where you plan to hang the piece using a tape measure. Record total width and height. Note architectural features affecting placement: doorways, windows, shelving, radiators. These constrain your options and determine how large a painting can be.
Understand proportion in your room. Paintings too small appear to float awkwardly and feel disconnected. Paintings too large overwhelm the space and feel cramped. Ideally, artwork occupies between 50% and 75% of wall space above furniture (the American Academy of Dermatology). For a sofa wall, aim for artwork roughly 75% of the sofa's width. For standalone walls, leave at least 12 inches of space on either side.
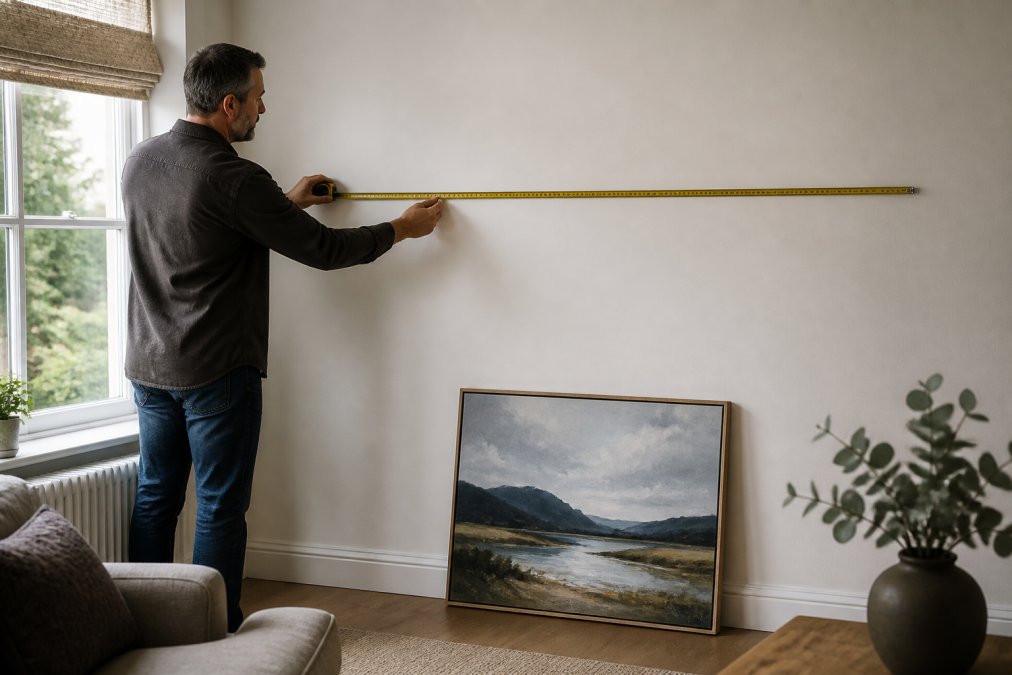
Consider vertical placement as well. Your wall's height and distance from floor to furniture affects how the piece relates to the room's composition. Hung too high, it creates visual separation; too low, it feels cramped. This spatial awareness is critical to how your original artwork will function.
Step 2: Use Digital Art Visualization Tools to Preview Your Piece
Digital visualization tools have transformed how collectors evaluate artwork before purchase. These apps and software let you upload a photo of your wall and position a digital image of the painting exactly where it will hang, removing much uncertainty from the decision.
Popular tools include augmented reality applications, room design software, and simple photo editing programs. Many are free or low-cost. Some painting retailers provide digital mockup services. The best tools let you adjust position, size, and rotation to match your exact wall dimensions.
Take a clear, straight-on photo of your wall, avoiding angles or shadows that distort the image. Upload this to your visualization tool, then upload the artwork image. Most tools let you drag, resize, and rotate the painting within your wall photo. Test different positions and sizes, what looks right in a thumbnail often feels different at actual dimensions.
The visualization reveals details static photos cannot. You'll see how the painting's colors interact with your wall, how the frame complements your décor, and whether the piece's focal point aligns naturally with your eye's travel through the room.
Step 3: Create Thumbnail Sketches to Test Arrangements
Before committing to digital tools, sketching your wall layout on paper is surprisingly effective. This low-tech approach forces careful thinking about proportions and spatial relationships.
Begin with a simple rectangle representing your wall. Add basic shapes for furniture, sofa, chairs, shelving. Mark doorways and windows. Sketch the artwork to scale within this layout. The act of sketching engages spatial reasoning differently than clicking and dragging, and you often spot proportion issues that digital previews miss.
Test multiple focal points by sketching the same wall with the painting in different positions. Try it centered above the sofa, off-center, paired with a second piece, higher or lower than standard eye-level. Each sketch reveals how placement changes the room's visual hierarchy. This tangible approach is particularly valuable when considering how original paintings interact with existing art or décor.
Step 4: Follow Art Hanging Height Guidelines for Optimal Placement
The height at which you hang artwork fundamentally affects how it functions in your space. Established guidelines create visual harmony, though they can be adjusted for your room's specific characteristics.
Standard eye-level positioning places the artwork's center at approximately 57-60 inches from the floor (the American Academy of Dermatology). This aligns with the natural line of sight for most people and makes artwork feel integrated into the space rather than floating. For original landscape paintings, this positioning allows viewers to engage with brushstrokes, texture, and details without strain.
Adjust for different room types with flexibility. In rooms with high ceilings, eye-level positioning might feel too low. Moving the artwork up to 62-66 inches creates better visual balance. In low-ceiling rooms, dropping it to 54-56 inches feels more appropriate.
Above furniture like sofas or consoles, leave 8-12 inches of space between the furniture's top and the frame's bottom (the American Academy of Dermatology). This creates visual connection without crowding. Consider viewing distance as well, artwork meant to be viewed from across a large room can hang slightly higher than pieces in intimate spaces.
Step 5: How to Display Original Landscape Paintings with Lighting in Mind
Light is the invisible collaborator in how your original painting will appear. The same artwork looks dramatically different under natural morning light, afternoon sunlight, and artificial evening lighting.
Natural light considerations start with identifying where light enters your room throughout the day. Direct sunlight can fade artwork and create glare that obscures detail. Indirect natural light, soft, diffused light from north-facing windows or bounced off surfaces, is ideal for displaying original paintings.
Position your painting where it receives consistent, indirect natural light when possible. Avoid direct sunlight, particularly if the piece contains fugitive pigments or delicate colors. If your preferred wall receives direct afternoon sun, consider UV-protective glass or acrylic when framing, or hang sheer curtains to diffuse light.
Artificial lighting requires equally careful consideration. Picture lights mounted above the frame direct light downward across the painting's surface, revealing texture and depth. Wall sconces flanking the artwork create balanced illumination without harsh shadows. Avoid placing the painting directly under ceiling lights that create glare. LED picture lights are energy-efficient and generate minimal heat while providing ideal illumination.
The color temperature of artificial lighting matters too. Warm white light (2700K) complements landscape paintings with earthy tones and golden hues. Cooler light (4000K) works better with paintings featuring blues, grays, or cooler palettes.
Step 6: use Augmented Reality to See Art in Real Time
Augmented reality represents the frontier of art visualization. Rather than working with static photos or digital mockups, AR apps overlay a live view of the artwork onto your actual wall through your smartphone camera, showing exactly how the piece will appear in your space.
Download an AR-enabled app and point your smartphone camera at your wall. The app overlays a digital image of the artwork at actual size. You can walk around the room, view the piece from different angles, and see how it interacts with your existing décor in real time. Some apps let you adjust size, rotation, and position by dragging on the screen.
Testing color harmony with your décor becomes immediate and intuitive. You see exactly how the painting's colors interact with your wall, furniture, and other elements. A landscape painting with cool blues and grays will either harmonize beautifully with modern minimalist spaces or clash with warm, traditional furnishings, AR reveals this instantly.
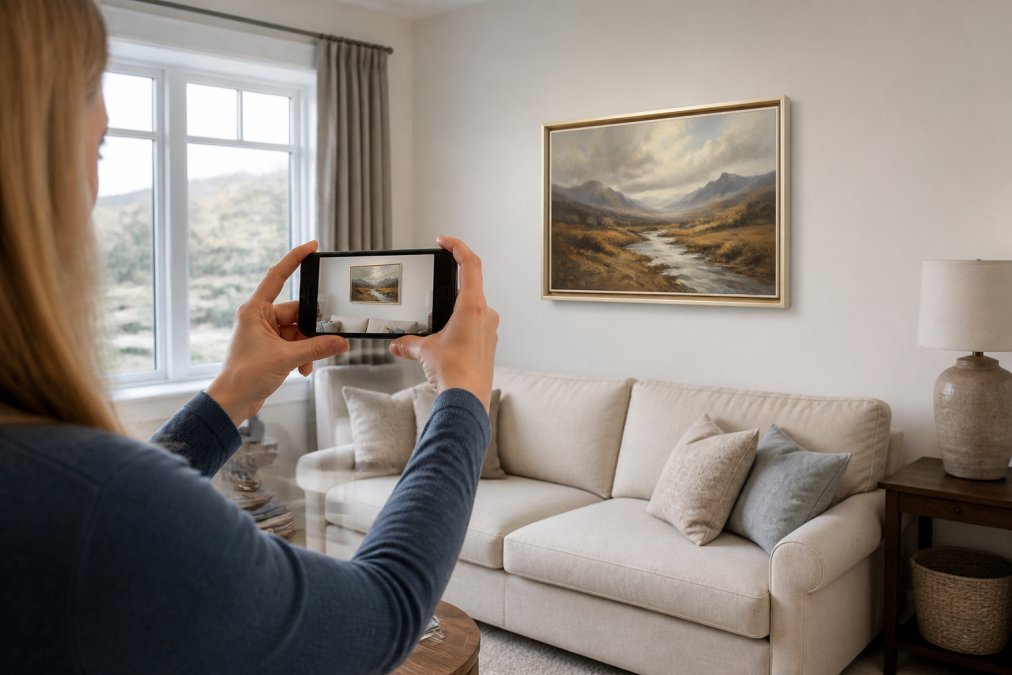
Many collectors find that AR visualization eliminates final hesitations before purchasing. Seeing the actual artwork in their actual space, at actual size, with actual lighting and décor, transforms the decision from abstract to concrete. This technology is particularly valuable when purchasing original paintings from online retailers like Cairngorm Artists, where you cannot see the piece in person before buying.
Common Mistakes When Visualizing Artwork at Home
Several predictable errors derail the visualization process and lead to poor purchasing decisions.
The first mistake is relying solely on product photos without considering scale. A painting that looks substantial in a retailer's image often appears small once it arrives. Always compare artwork dimensions to objects you know well, a standard doorway is 36 inches wide, a sofa arm is typically 24-30 inches high.
Another common error is ignoring your room's actual lighting conditions. Visualizing artwork under ideal showroom lighting, then hanging it in a room with completely different light, creates disappointment. Spend time observing how light moves through your room at different times of day before finalizing visualization.
Many collectors also fail to account for the frame's impact on the overall composition. The frame is not neutral, it either enhances or detracts from the artwork. Visualize the artwork with its actual frame, not just the image alone.
Underestimating how artwork affects room color perception is another frequent oversight. Original paintings introduce new colors into a space, influencing how you perceive existing furnishings and walls. Account for these color interactions in your visualization.
Finally, many buyers skip physical measurement and rely entirely on digital tools. While digital visualization is valuable, it cannot replace the spatial awareness that comes from actually standing in your room, measuring your wall, and physically understanding proportions. The most confident purchasing decisions combine all approaches: measurement, sketching, digital visualization, and AR preview.
Visualizing original paintings before purchase transforms a risky decision into a confident one. By measuring your space, using digital tools, creating sketches, following hanging guidelines, considering lighting, and using AR technology, you eliminate the uncertainty surrounding buying artwork sight unseen. When you purchase from Cairngorm Artists, this visualization process becomes even more valuable, our Highland landscape paintings arrive ready to hang with our safe-arrival promise, so once you've confirmed the piece works in your space, you can hang it with complete peace of mind. The combination of authentic original artwork from ten talented Highland artists and proper visualization techniques ensures your new painting will enhance your home exactly as you imagined.
Frequently Asked Questions
How can I tell if a painting is an original or a print before I buy?
Original paintings show visible brushstrokes, canvas texture, and dimensional layering that photographs cannot capture. Prints appear flat with uniform ink coverage. Examine the back of the artwork for labels, artist signatures, and provenance marks. Ask the seller for authentication details, provenance documentation, or a certificate of authenticity. Cairngorm Artists' original Highland landscape pieces are created by ten independent artists, each bringing their unique brushwork and creative process to every piece.
What is the best way to visualize original paintings in my room before purchasing?
Start by measuring your wall space accurately and understanding the scale of the artwork relative to your room. Use digital art visualization tools or smartphone apps to upload images of the painting onto photos of your space. Create thumbnail sketches of potential placements. For the most realistic preview, use augmented reality apps that let you see the artwork in real time on your wall. This combination of methods ensures the piece fits both physically and aesthetically before it arrives at your home.
What height should I hang original landscape paintings on my wall?
The standard art hanging height guideline places the center of the artwork at 57-60 inches (145-152 cm) from the floor, roughly at eye level when standing. For gallery walls with multiple pieces, maintain consistent spacing of 2-3 inches (5-7.5 cm) between frames. In living rooms and bedrooms, consider furniture placement—hang artwork so it relates visually to seating arrangements. Above a sofa, position the painting 8-10 inches (20-25 cm) above the furniture back. These guidelines ensure optimal viewing and balance in your interior design.
How do I choose the right wall color for displaying original landscape paintings?
Neutral wall colors—whites, soft grays, warm creams, and pale earth tones—allow original artwork to be the focal point without competing for attention. For Highland landscape paintings, consider the dominant colors in the piece: cool blues and greens pair well with warm neutral walls, while warm earth tones work with cool-gray backgrounds. Test your chosen wall color against the actual artwork (or a high-resolution image) in your room's natural and artificial lighting before committing. The goal is to create visual balance where the painting enhances rather than clashes with your interior design.

